How To Jumpstart A Car With Jumper Cables Safely, Step By Step

Your car won’t crank and you’ve got jumper cables, but you’re worried you’ll connect them wrong or spark something. The fix is mostly procedure: check the system, hook the clamps to the right battery posts, start the donor first, wait, then start the dead car. This step-by-step walkthrough covers safety, exact clamp order, troubleshooting, and what to do after the jump.
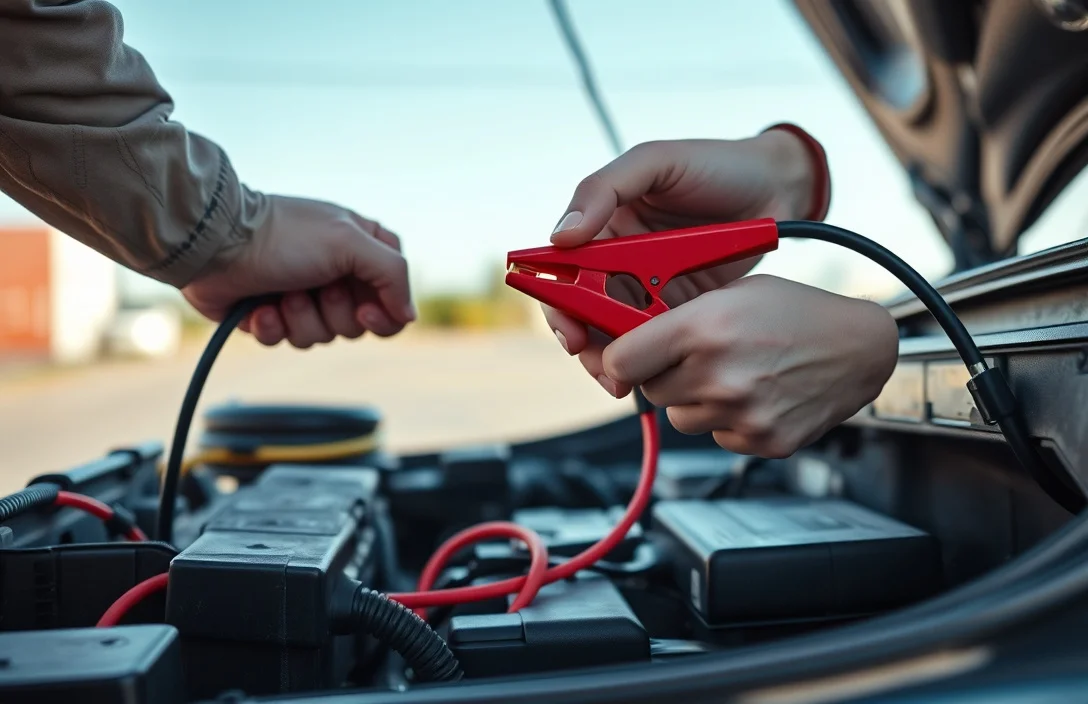
Confirm a 12V battery (most passenger cars), wear eye protection and gloves, and keep clamps from touching metal. Connect in this order: donor + to dead +, donor – to dead – or a grounded point, then start the donor, wait a few minutes, and start the recipient. Remove clamps in reverse.
Jumpstarting a car with jumper cables starts with a 12V battery, clean clamp contact, and clear + and – markings. Connect red to positive (+) on both batteries, then black to negative (-) on the dead battery (or a metal ground point). Start the donor, wait 2 to 5 minutes, then crank the dead car. Remove cables in reverse after it runs.
How To Jumpstart A Car With Jumper Cables
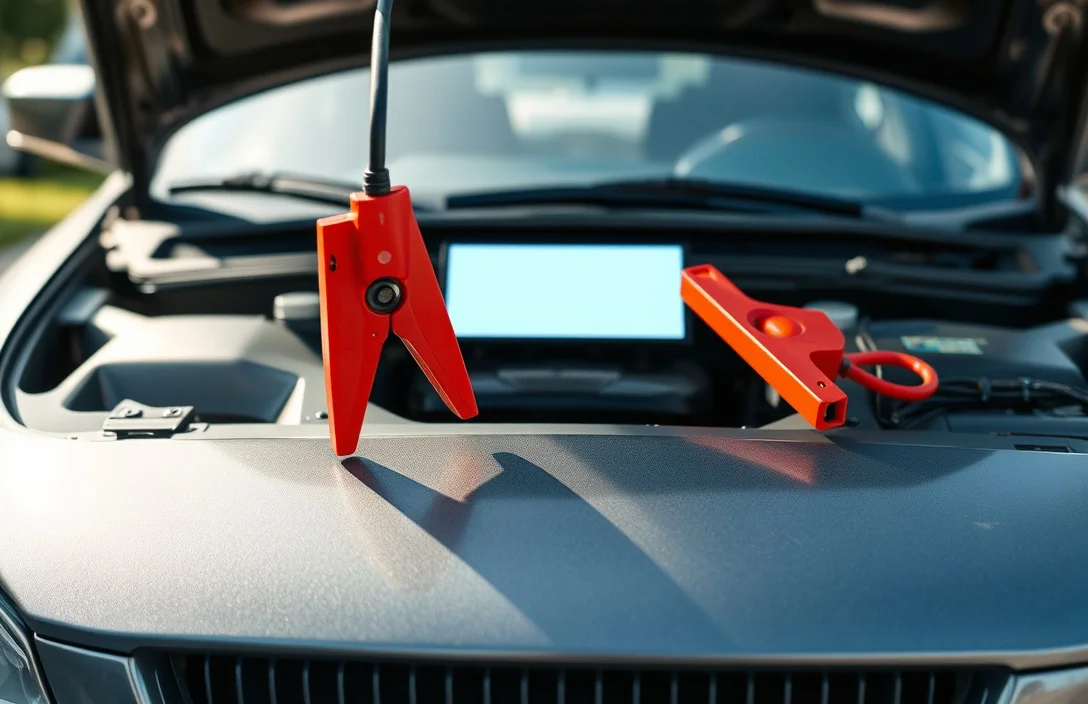
Connect the cables in the right order to avoid sparks and protect both batteries. Clamp positive to positive first, then negative to a clean metal ground on the dead car. Follow the start sequence by starting the donor, then cranking the recipient.
In practice: Volvo XC90 owners often find the jumper procedure still follows the same polarity and clamp order, and if the first start attempt fails, keep charging for a short period before trying again. That approach reduces repeated high-load cranking and gives the 12V system time to recover enough to start.
Stop and call for help if you smell battery sulfur, see heavy smoke, hear loud arcing when clamping, or notice the battery area is frozen or leaking. Those are “don’t guess” signs where cables can make things worse.
Difficulty rating: 1 out of 5. Jumpstarting is straightforward, but mistakes in clamp order are what cause the trouble, especially with AGM batteries and cars with dense wiring in modern engine bays.
Jumpstart Safety Rules Before Connecting
Wear eye protection and insulated gloves before you touch any battery terminals or jumper cable clamps. Keep sparks and flames away, and set both cars up for ventilation so battery gas has somewhere to dissipate.
Battery fumes are the real hazard. Lead-acid batteries can vent hydrogen gas, which can ignite if you create a spark. No smoking, no open flames, and no grinding or metal work anywhere near the batteries.
Control Ignition Sources And Manage The Work Area
Choose a spot with airflow, roll the vehicles close enough for the cables to reach, and keep the engine bays clear of clutter that can trap gas. Turn on hazard lights if you are parked on a roadway, but avoid running anything that adds electrical load while you are getting connected.
Insulated jumper cables with proper clamp design reduce the odds of accidental shorting. If your cables look frayed, have loose clamps, or the insulation is cracked, replace them before you try.
Prevent Shorts And Cable Damage
Route the cables so they cannot snag on belts, fans, or any hot exhaust parts. Avoid letting clamp handles or cable ends make contact with each other or with any other metal ground points besides the intended terminal.
Start with a “no metal contact” mindset: clamps should grip the correct post or designated jump point only, and you should never place a clamp down on the battery after it is attached. Cracked, frozen, or leaking batteries can vent more violently, so stop and call for help if you see damage or smell active leaking.
| Situation you notice | Why it matters | What to do |
|---|---|---|
| Cracked or frozen battery | Battery case can break and vent | Stop and get roadside assistance |
| Leaking or wet corrosion | Electrolyte can be active and corrosive | Stop and get professional help |
| Frayed cables or loose clamps | Loose contact can arc and melt insulation | Do not connect, replace cables |
Switch Off Accessories Before Connecting
Turn off the recipient car’s ignition and all accessories (headlights, blower fan, rear defrost, radio) before you connect. After you get the cars connected, keep the donor car idling and avoid cycling accessories until the jump attempt is complete.
Once the jump is successful and you are done, shut down and disconnect carefully in the reverse order from the connection sequence. Keep the cables from touching each other during removal, so you do not create a fresh short while the clamps are still energized.
Confirm 12v Battery And Correct Terminals
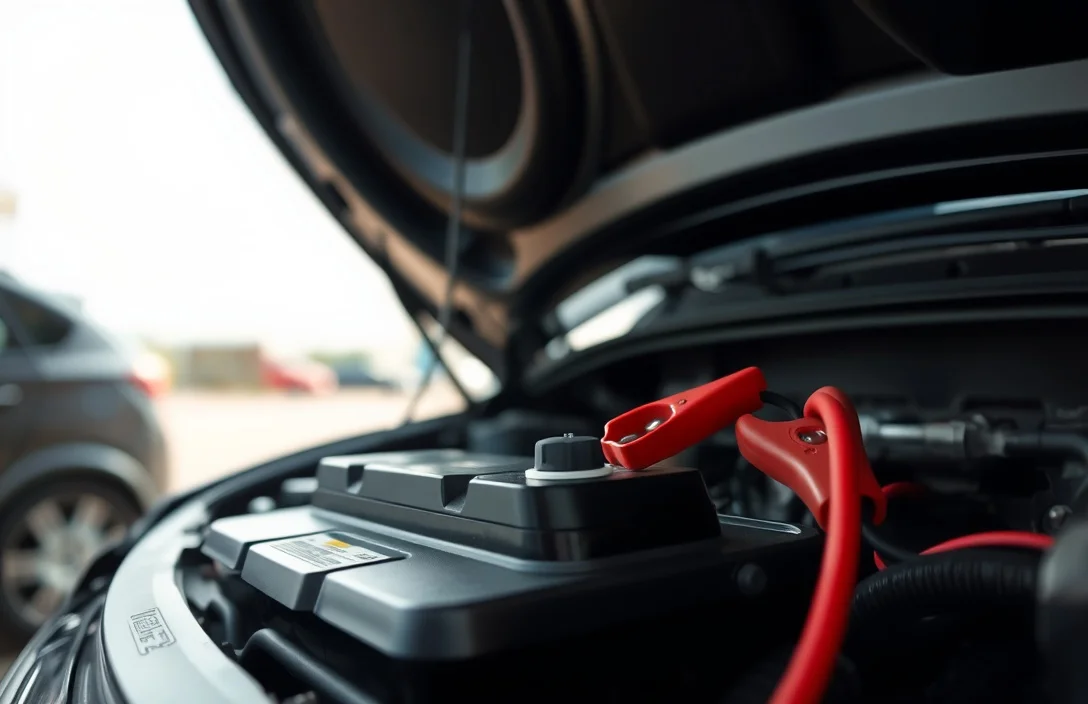
Jumpstarting works on 12-volt light-duty battery systems. Before you clamp anything, confirm the battery is labeled 12V and that you can clearly identify the positive (+) and negative (-) terminals.
Spot The Right Voltage (12v Vs 24v)
Most passenger cars, pickups, SUVs, and many small vans use a 12V system. Some heavy trucks and certain fleet vehicles use 24V systems, and jumping them with a basic 12V setup can cause severe electrical damage.
Check the battery case for labels like 12V or 24V, and also scan the vehicle’s under-hood label.
For example, Volvo XC90 and most modern cars are 12V, while commercial trucks often are 24V and require the correct procedure and equipment.
| What you see | What to do | Why it matters |
|---|---|---|
| Battery labeled 12V | Proceed with standard jumper-cable method | Cables and vehicle electronics expect 12V charging support |
| Battery labeled 24V or multiple 12V batteries in series | Do not use a typical 12V jump approach | Voltage mismatch can fry ECUs and charging components |
Find + And – Using Labels And Cable Colors
Battery posts are usually marked + or POS for positive and – or NEG for negative. Jumper cables are also color-coded, with red going to + and black going to –.
On most cars, the positive post is the one connected to the larger cable that runs toward the fuse box or starter relay. Corroded or faded markings happen, so if you cannot positively identify the terminals, pause and verify before clamping.
Locate The Battery In The Engine Bay Vs Trunk/under-cover
Many cars put the 12V battery in the engine bay, but some place it under a cover in the trunk, in a side compartment, or even beneath a seat. Hidden batteries still follow the same rule: you must find the marked + and – posts before connecting clamps.
For cramped setups, the terminal identification matters even more. Look for embossed markings, terminal covers labeled + and –, and service posts intended for jumpstarting if your vehicle uses them.
Insider tip: If the positive terminal is hard to access, don’t reach blindly. Verify the marking on the battery or the nearby cable labels before you clamp.
Check For Corrosion Or Loose Terminals Before You Clamp
Corrosion can look like white, blue-green, or fuzzy buildup around the posts, and it increases resistance. Loose terminals can move when you touch them, which creates poor contact and can spark when the clamp bites through the oxide layer.
Before any cables connect, visually inspect both terminals and ensure the clamps can sit firmly on metal. If you see heavy corrosion, melted plastic, or a wet or swollen battery case, skip the jump attempt and get professional help.
| Condition you notice | Risk | Best move |
|---|---|---|
| White/green crust at terminals | High resistance, clamp won’t bite clean | Re-check terminal ID, avoid loose contact |
| Terminal moves by hand or is visibly loose | Intermittent power and sparking | Do not proceed until tightened or serviced |
| Cracked case, strong sulfur smell, swelling | Battery failure or venting | Stop and use roadside service or a shop |
Correct Jumper Cable Clamp Order
Connect the cables in a fixed order to reduce arcing: hook the first clamp to the dead battery’s positive terminal, then clamp the other end of the positive cable to the donor battery’s positive terminal. Connect the negative cable last, with one end to the donor battery’s negative and the other end to a solid ground point on the dead vehicle (or the remote ground specified by the vehicle).
Use The Vehicle’s Specified Ground Point
Some vehicles have a labeled remote ground post or terminal near the engine bay. That point is engineered for jump starting, so use it exactly as indicated. If you do not see a remote ground, pick a clean, heavy metal bracket or engine lift point that is bolted down securely.
For cramped bays, avoid thin sheet metal and painted surfaces. A bad ground can make the donor crank fast for a second and then fail to spin the starter, which feels like “the jump didn’t work.”
If a clamp will not stay put on corroded posts, stop and fix the contact before trying again. Spinning, arcing clamps can damage battery terminals and melt insulation.
| Step | Clamp location on dead vehicle | Clamp location on donor vehicle | Cable color |
|---|---|---|---|
| 1 | Positive (+) terminal | None yet | Red |
| 2 | None | Positive (+) terminal | Red |
| 3 | None | Negative (-) terminal | Black |
| 4 | Remote ground (if present) or solid engine ground | None | Black |
Donor And Recipient Starting Sequence
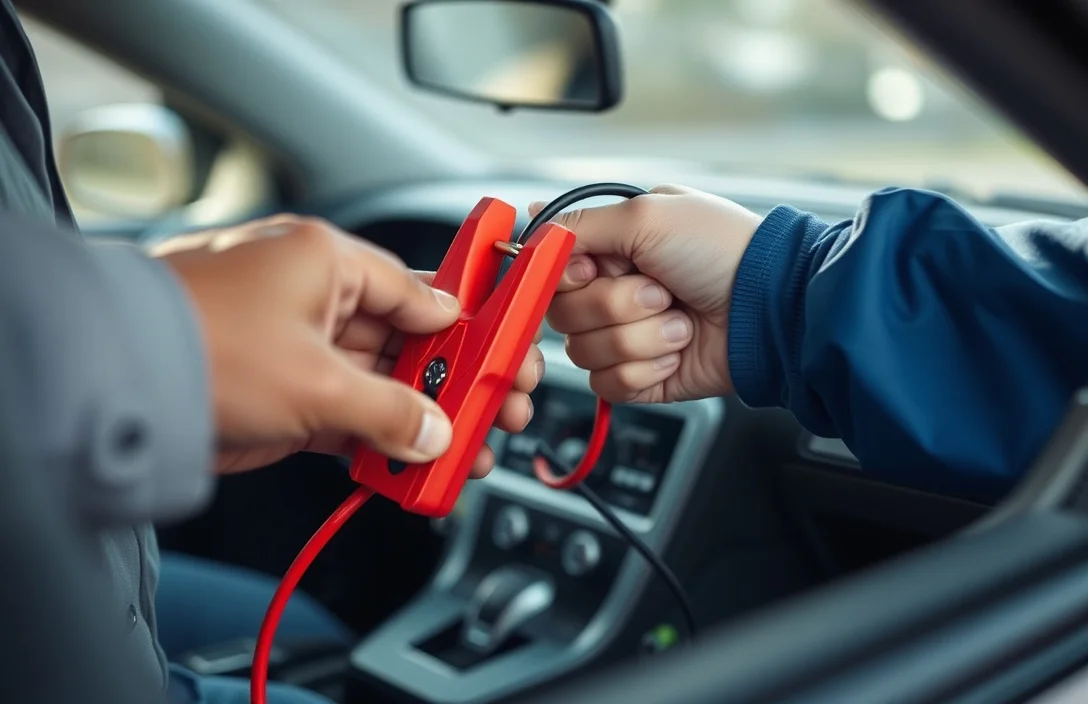
Start the donor vehicle first, then let it charge the dead battery before you crank the recipient. Keep the donor running while you attempt the dead car start, and limit crank attempts so you do not overheat the starter or drain the donor.
For example, a Volvo XC90 guidance page says to start the vehicle after connection, and if the attempt fails, keep charging for 10 minutes before trying again. Many modern vehicles benefit from a longer charge window when the dead battery is deeply discharged, so that timing can be a good fallback if the first crank attempt fails.
| Recipient transmission | Before cranking | During cranking |
|---|---|---|
| Automatic | Park, parking brake set | Foot off brake, steady key/start |
| Manual | Neutral, parking brake set | Clutch pedal fully depressed |
Insider tip: If the recipient dash lights brighten when you first connect cables, that is a good sign. If the lights stay dim and the starter clicks slowly or not at all, the battery may be too weak to accept charge, or you have a bad connection.
Remove Cables Without Damaging Electronics
Disconnect the jumper cables in the exact reverse order you connected them to prevent reverse-current arcs. Remove the negative clamp first from the dead car, then the positive clamp, and keep the donor vehicle running while you take the cables off.
Clamp Handling Rules That Prevent Glitches
Clamp metal is conductive and still live for a moment after the cable is removed. Treat each clamp like it is hot until it is fully off the battery and placed on a non-conductive surface. If a clamp touches ground or battery posts unintentionally, you can create a momentary arc that may trip protection circuits or damage sensitive electronics.
For example, in cramped engine bays on vehicles with batteries under covers or in the trunk (many Volvo XC90 models use specific jump-start terminals), the temptation is to “walk” the clamp off the post by hand. Don’t do it. Lift the clamp straight away, keep it from skimming the frame, and immediately park it where it cannot swing back.
| Step | Clamp removal order | What to watch for |
|---|---|---|
| 1 | Negative from dead car | Clamp snapping back to the battery or frame |
| 2 | Positive from dead car | Do not let positive clamp contact ground |
| 3 | Positive from donor | Keep cables from touching each other |
| 4 | Negative from donor (if applicable) | Keep hands away from both clamp jaws |
Insider tip: After removal, set each clamp down where it cannot roll or hang by the cable. Cramped bays and battery covers turn “one careful move” into a spark risk in seconds.
What To Do After A Successful Jump
Keep the destination vehicle running after it starts so the alternator can recharge the battery. Plan to drive or at least run the engine long enough to restore some charge, especially if the battery was fully depleted.
Pro tip: If the destination vehicle starts but then dies as soon as you shut it off, treat that as a battery failure until proven otherwise. Schedule service the same day if possible.
| What you observe after the jump | What it usually points to | Next step |
|---|---|---|
| Starts and runs normally | Battery was discharged | Drive, then test battery and charging system at your earliest convenience |
| Starts, but restarts fail soon after shutoff | Battery still weak or not charging | Battery test plus alternator/charging voltage test |
| Battery warning light comes on | Charging system issue | Service before further driving if possible |
Jumpstart Troubleshooting When It Fails
Jumpstart failures usually come down to battery condition, clamp contact, or polarity. Treat every bad attempt like a troubleshooting clue, then stop if the battery looks damaged.
Nothing Happens (No Crank, No Dash Lights)
Nothing happens is usually a simple electrical connection problem, wrong clamp order, or an open circuit from a bad fuse or cable contact. Incorrect polarity can also prevent the car from powering up.
Nothing happens typically means one of these is true: the clamps are on the wrong terminals, the clamps have weak metal-to-metal contact, or the cables are reversed. Fix it by inspecting the clamps for tight fit and clean contact surfaces, then confirm the donor and recipient grounds match the correct approach you used earlier.
Clicking Sound (Repeated Attempts)
Clicking usually indicates low current to the starter, so the battery is too weak or the circuit is too resistive to maintain voltage. Repeated attempts can overheat the starter solenoid and melt connections.
Clicking should be treated as a stop sign after one or two short tries. If you hear clicking and the recipient never cranks, disconnect, then check clamp tightness and restart the process with a better donor or a longer pre-charge period.
Sparks During Connection
Sparks during connection almost always means bad clamp order, a clamp making contact to the wrong spot, or a short caused by a clamp touching metal while still energized. Sparking can weld clamp jaws, damage terminals, or ignite battery vapors.
Sparks are a reason to disconnect immediately and reset your setup. Fix clamp order and check that each clamp is contacting bare metal and not near loose wiring or a vented battery area.
Donor Runs, Recipient Still Won’t Crank
Still won’t crank after the donor engine runs usually points to a weak donor battery or high resistance somewhere in the cables, especially with heavy corrosion. Modern vehicles can also draw extra power from systems that will not tolerate low voltage.
Still won’t crank should make you suspect poor connection quality. Fix it by inspecting for corrosion on both batteries, tightening clamp contact, and trying again with a known-good donor (or a different vehicle) that can supply strong voltage.
Good jump starts feel “stable,” if voltage is sagging you often get slow cranking or silence, and that usually means resistance at clamps or terminal corrosion.
Repeated Jump Starts Needed
Repeated jump starts are a sign the car is not getting reliable charging or starting power. The usual culprits are a failing battery, an alternator that is not producing charge, or a starter/ground issue.
Repeated jump starts should trigger a proper battery and charging test soon, because jumper cables are a temporary workaround. A shop test is usually faster and cheaper than guessing, and it prevents replacing parts that are fine.
| Symptom pattern | Most likely cause | Next safest step |
|---|---|---|
| Car needs jumps multiple days in a row | Bad battery | Battery load test |
| Jumps work, but battery dies again soon after driving | Charging problem, often alternator | Charging system test |
| Cranks poorly even after a fresh battery charge | Starter or ground issue | Starter current/voltage checks |
Battery Is Hot, Swollen, Leaking, Or Frozen
A hot, swollen, leaking, or frozen battery is unsafe to energize and can vent or rupture if jump voltage is applied. Do not continue with jumper cables in these conditions.
Battery damage means you need a different plan, tow to service, or battery replacement. If you see any of these conditions, stop immediately and keep sparks and flames away from the battery area.
Common Jumper Cable Mistakes Checklist
Most jumpstart damage comes from incorrect clamp placement and polarity, which can create big sparks and melt cable ends. The fastest way to avoid that is to clamp exactly as intended and keep the cables from touching moving parts or each other.
For example, a cramped engine bay in many modern sedans and SUVs makes it easy to swing a cable into a belt-driven fan shroud while you step back. Position the cables so the next movement you make cannot tug them across battery terminals or wiring.
In practice, a dead battery that already has noticeable cracking, leaking fluid, or a bulged case is a no-jump candidate. Attempting a jump can generate excessive heat and venting.
Rule of thumb: If you see sparks when you clamp, stop. Re-check polarity and clamp location before trying again.
Quick Summary
Jumpstarting a car with jumper cables is mostly about correct cable order, safe connections, and giving the dead battery enough time to recover.
| Step | Do this | Time/Result |
|---|---|---|
| 1 | Verify 12-volt systems, turn both vehicles off | 30 to 60 seconds |
| 2 | Red to positive, black to negative, ground last on bare metal | 1 to 3 minutes |
| 3 | Start donor car, then try starting the dead car | Attempt, then proceed |
| 4 | If it fails, keep charging about 10 minutes and try again | About 10 minutes |
| 5 | After it starts, drive to recharge, disconnect clamps reverse order | Drive right away |
Frequently Asked Questions
What Order Do I Connect Jumper Cables When Jump-starting A Car?
Connect positive (+) to positive (+) first, then connect the other positive clamp to the dead car’s positive. Finally, connect the negative (-) to the good battery negative, and the last negative clamp to an unpainted metal ground on the dead car.
Can I Jump-start A Car If The Battery Is Agm, And Is The Process Different?
AGM batteries can be jump-started, but the key is using the correct polarity and avoiding sparks while clamping on. If you’re unsure whether your battery is AGM, check the label on top or side of the battery before you connect cables.
How Long Should I Wait Before Trying To Start The Car With Jumper Cables?
If the first attempt fails, give it time. For example, Volvo’s guidance for jump-starting a 12 V battery says to keep charging for about 10 minutes and then try again, and to start and run the vehicle afterward to charge the battery.
What’s The Most Common Mistake When Using Jumper Cables That Can Cause Damage?
The biggest mistake is connecting the clamps in the wrong order or with reversed polarity. Always double-check + to + and – to -, and make sure clamps are fully seated before you attempt to start.
Should I Turn Off The Engine And Accessories Before Jump-starting With Jumper Cables?
Yes, turn off the dead car’s ignition and shut down major loads like headlights and the blower. That reduces voltage spikes and helps you get a more consistent start attempt once the cables are connected.
When Do I Stop Trying To Jump-start And Call For Help?
If it doesn’t start after a couple of attempts, stop and get it checked. A persistent no-start can mean more than a low battery, like a bad starter, charging system issue, or battery that cannot accept a charge, so a battery test is the next smart step.